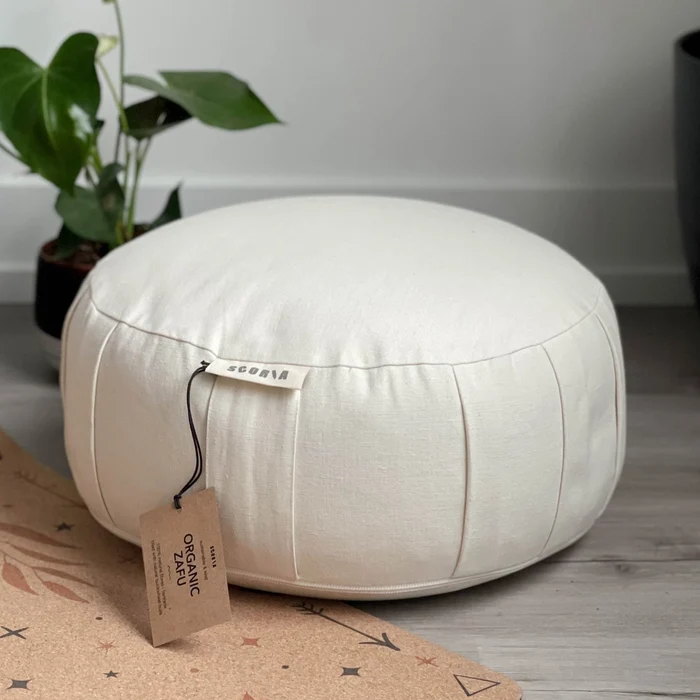

To prepare a round cushion insert for a custom cover, record two straight diameters and its height/profile. Measure the actual insert you intend to use in its normal, uncompressed shape. Do not turn these object measurements into finished cover dimensions by subtracting an assumed allowance.
Prepare the insert
Remove an old removable cover if that is safe and practical, then let the insert settle on a level surface. Do not press it down to make the numbers neat. Identify whether it resembles a flat pad, a cylindrical cushion with a side wall, or a dome with a changing height.
Photograph the top and side with the same label, for example Cushion A. If the filling shifts easily or one side is noticeably flatter, include that fact. A top-only photograph can conceal the shape that the side panel must accommodate.
Take straight spans, not a tape over the curve
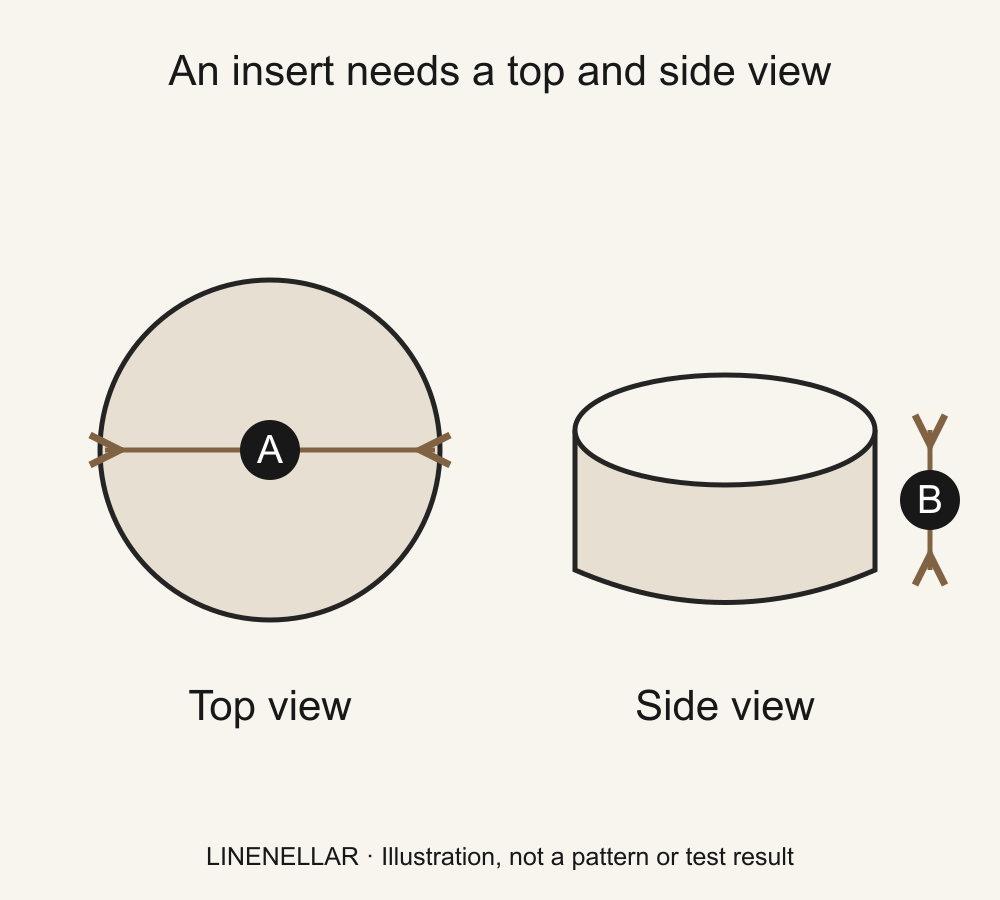
For the first diameter, identify opposite edges across the centre of the top view. Use a straight ruler or a tape held in a straight line to record the span. Do not drape a tape over the dome and call that curved distance a diameter. Repeat across the centre at right angles to the first reading.
If it is difficult to locate the edges without squeezing, use two upright straight edges placed lightly beside opposite sides and measure the gap. Avoid compressing the cushion between them. This gives a practical reference; the studio may request a different method for an unusual profile.
Record height without hiding the profile
For a simple cylindrical insert, measure the side height between its lower and upper edges at the side. If the centre rises above the edge, record the overall maximum height separately rather than calling both readings the side height. A dome and a straight side wall require different construction decisions.
An illustrative note might say: “Insert A, top straight spans 45 × 46 cm, side wall approximately 12 cm, centre maximum height 16 cm; soft domed top, photographed without compression.” Those are example readings, not a standard size or a recommendation for the finished cover. Keep both diameters when they differ instead of averaging away an irregular shape.
| Reading | Label it as | Do not substitute |
|---|---|---|
| First and second straight span | Insert dimensions, with method | A curved tape path over the dome |
| Side height | Edge/side-wall reading | Maximum centre height without saying so |
| Maximum height if domed | Overall profile reading | A claim that the side wall has this height |
| Existing cover dimensions | Separate textile reference | The dimensions of the insert inside it |
Add an existing cover only as a separate reference
If an old cover fits well, photograph it and label its dimensions separately. Say whether it was measured empty, laid flat and after washing. A stretchy cover can feel comfortable at dimensions that do not transfer to a different woven construction. Explain what you want to improve: less looseness at the edge, a better side profile, or easier removal.
The maker decides the finished cover specification with the chosen fabric and construction. Do not remove a universal amount for negative ease or add a seam allowance to the insert figures.
Confirm the product, not just the diameter
Check whether the listing includes a cover only or an insert, and confirm its actual closure and side construction. A change to the closure or a different profile may need a quote beyond a simple size adjustment.
Cushion A: [product link]. Insert straight spans: [A × B, unit]. Side height: [C, method]. Maximum height/profile: [description]. Existing cover reference, if any: [separate readings]. Desired fit: [preference]. Please confirm the finished cover dimensions, construction, colour and total.
Use the Still Round Linen Cushion Cover as a starting design and the custom service to agree the final specification before making.
Pieces to explore