
Linen Outfits with Flat Shoes: Getting the Length and Proportion Right
Flat shoes can be the first decision in an outfit rather than the compromise at the end. If they are what you enjoy wearing, choose linen lengths and proportions around them from the start. There is no need to buy trousers with an imagined future heel height or a dress that only feels finished with shoes you rarely use.
The useful question is not whether flat shoes are elegant enough. It is whether the whole combination works as you intend: the hem clears the ground, the shoe feels right for the outing, and the top and bottom create the outline you like. Those details can be assessed without following a rule about age or body shape.
Begin with a specific pair, not the word flats
A slim ballet flat, a substantial loafer and a flat sandal have different visual weights and different shapes around the foot. Lay the actual pair beside the proposed outfit. Notice the sole, toe shape and how much of the upper foot is visible. These details influence how a trouser hem or skirt reads.
The same trousers can look and feel different over a narrow flat and a thicker walking shoe. If you expect to alternate between them, test the length with both. You may prefer a length that works reasonably with each, or decide that one pair of trousers has a more specific role. Neither decision requires every garment to be universally versatile.

Decide how the trouser hem should meet the shoe
For full-length trousers, consider whether you like a clean line above the shoe or a small amount of fabric meeting it. Then check that the back hem stays clear of the ground during normal walking. Do not copy an inseam from a photograph without considering rise and waistband position on your own body.
For cropped trousers, decide where you enjoy the break between fabric and shoe. There is no required amount of ankle to show. If you prefer more coverage, a longer direction may work better than forcing a cropped design to imitate full-length trousers. Ask the studio whether the selected design supports the finished length you want.
Consider dresses while walking and sitting
A dress hem that looks balanced standing may behave differently on steps or while seated. Try a comparable dress with the flats you use and check an ordinary stride. If the skirt is narrow, assess room at the hem as well as overall length. If it is full, notice how the fabric moves around the shoe.
Use a temporary fold on a reference dress to compare lengths before requesting an adjustment. This is a way to identify your preference, not a recommendation to alter a new purchase immediately. Record the finished-length reference and ask how the studio wants it measured, especially if your reference garment has a different shoulder or waist position.
Balance the top without rigid formulas
A shorter top can reveal more of a trouser shape; a longer shirt can create a continuous relaxed line. Both can work with flats. Instead of applying a rule about thirds, try the actual pieces together and ask which part of the outfit you want to notice first.
If the trousers are generous, a tucked shirt may define the waist, but it is not compulsory. If the dress has a clear waist, an open layer can soften it without hiding the whole design. Check the side view and the seated feel too. A proportion that only works when you stand very still may not be useful for everyday wear.
Use colour and accessories after length is settled
Shoes close in shade to the trousers may create continuity, while a contrasting pair can be a deliberate focal point. A bag or piece of jewellery can repeat the shoe colour without requiring an exact match. Choose what relates to your existing wardrobe rather than buying an entire set of new accessories.
The linen shade library is useful for comparing directions, but screen colour is not a physical match guarantee. If matching an important existing item, explain that priority and ask what information or fabric confirmation is available. Resolve fit and hem length separately from colour.
Make the order brief footwear-specific
A useful note is: “I plan to wear these trousers with flat loafers. I prefer the hem clear of the ground with a clean line at the front. Please confirm the measurements you need at my intended waistband position.” This is clearer than asking for a standard petite or tall length without explaining the shoe.
For LINENELLAR, standard sizes are available alongside made to measure at a 20% surcharge on the selected product price. The note is optional and details are confirmed before making. If you choose standard sizing, still check the listed length and any questions about its measurement before ordering.
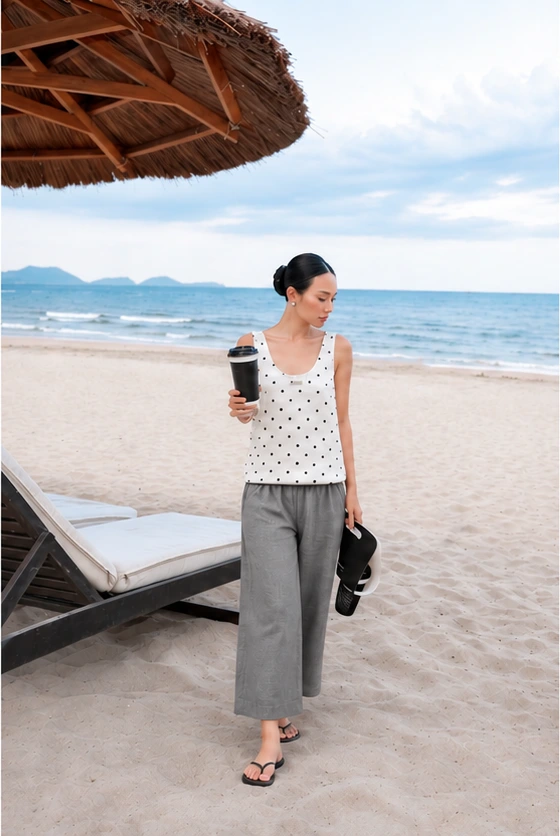
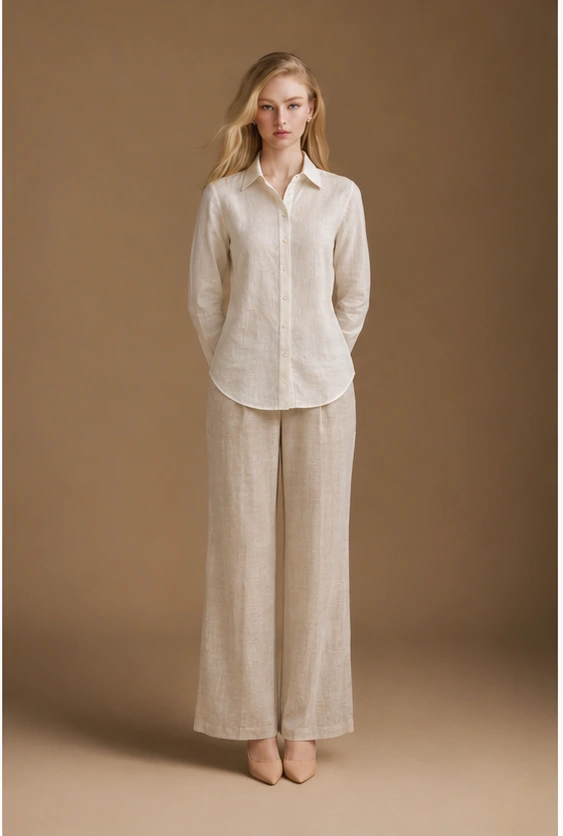
The cropped, straight and dress options below are different starting points for flat-shoe outfits. Choose the shape you enjoy, then make the hem and footwear work together. Comfortable shoes should support your style rather than require an apology for it.
Continue reading
Pieces to explore
Three designs to compare with the ideas in this article. Open each product for current pricing, available choices and construction details; confirm any requested fit or design change with our studio.

Choosing Linen Sleeves with Comfortable Upper-Arm Room
Sleeve length and sleeve comfort are separate decisions. A sleeve can provide the coverage you like while feeling restrictive around the upper arm, or it can be roomy there but awkward at the elbow or cuff. When shopping for linen online, look beyond whether a sleeve is labelled short, three-quarter or long.
The best starting point is a task you want to do comfortably: reach across a table, put on a cardigan, bend an elbow or carry a bag. These observations are useful at any age. They turn a vague request for a comfortable sleeve into a conversation about the selected garment and how you intend to wear it.
Observe the upper arm and the armhole separately
The width around the upper arm is one part of the sleeve. The point where the sleeve joins the garment affects movement too. A visibly loose armhole does not automatically make raising an arm easier, and adding width to the sleeve alone may not solve a restriction elsewhere.
Try a comfortable woven shirt and note where the seam sits, how the sleeve hangs and what happens when your hands move forward. Compare with the shirt that feels wrong. Describe the difference without deciding that the armhole must be made deeper. That conclusion needs design-specific assessment rather than a general internet formula.

Check the elbow and cuff in the way you wear them
Long sleeves should be considered with the elbow bent, not only with arms straight. If you roll sleeves, check whether the fabric becomes tight in the rolled position and whether it stays there comfortably. A sleeve that feels fine unrolled may behave differently once folded several times.
For a cuffed shirt, ask about the opening and fastening if they matter to you. Do not assume the cuff can be altered, widened or replaced without review. For a shorter sleeve, decide whether you want the hem above the elbow or below it on your body; the model’s photograph is a reference, not a guaranteed finished position for every wearer.
Distinguish room from excessive fabric
Some people enjoy a generous sleeve as part of the silhouette. Others want easy movement with less fabric around the arm. Both are valid preferences. Explain whether the desired result is a loose visual shape, a closer shape with sufficient movement room, or room for an underlayer.
If a larger standard size solves the upper arm but makes the shoulders and body much wider than you want, that is useful information. It may suggest a proportion question rather than a need to size up again. A custom discussion should preserve the parts of the design you like while clarifying the accepted changes.
Test the complete layering plan
Try the sleeve under the knitwear or jacket you expect to use. Two roomy pieces do not necessarily layer comfortably: fabric can gather around the armhole or bunch inside a narrow outer sleeve. Conversely, a closer shirt sleeve may feel good alone but leave too little room for another top underneath.
Tell the studio the intended combination. “I will wear this shirt over a light sleeveless top and sometimes under a cardigan” supplies more context than “make the sleeve loose.” If you have an outer layer that limits the available room, it is worth considering that constraint before choosing a very full sleeve direction.
Record measurements without adding guessed ease
Ask for the studio’s preferred measuring method. If upper-arm circumference is requested, provide the actual body figure as directed and label it clearly. If measuring a sleeve laid flat, say that it is a garment measurement and show the measuring position if needed. These two kinds of measurement cannot be substituted silently.
Do not inflate a body figure to create extra room unless that method has been agreed. The pattern may already include design-specific ease. Instead, write the comfort requirement separately: “I prefer room around the upper arm and do not want the sleeve gripping when I bend my elbow.” The studio can then confirm what additional information is needed.
Choose a suitable starting design
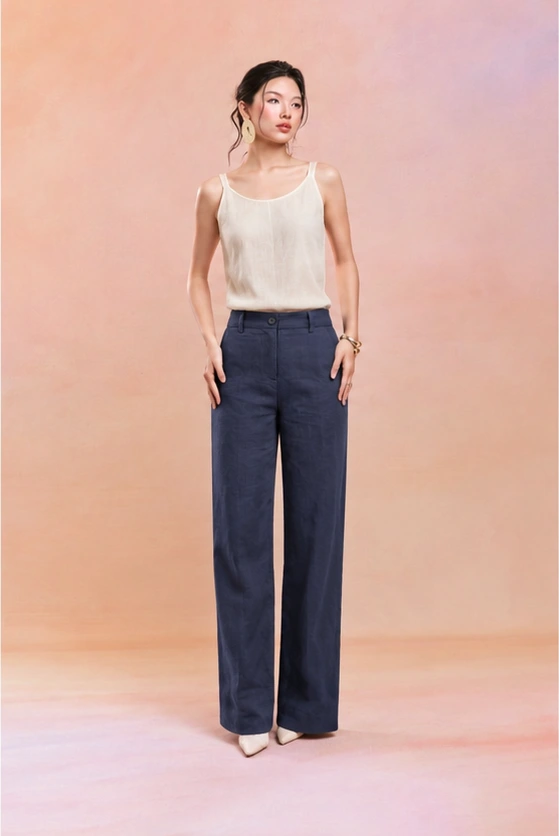
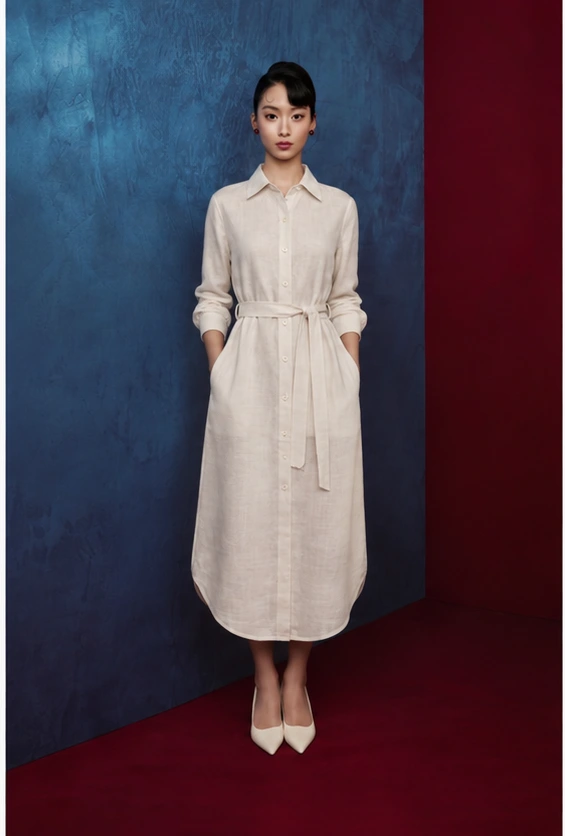
Compare product photographs and descriptions for the sleeve direction you actually enjoy. The Dawn Women’s Linen Shirt and Everyday Women’s Linen Shirt are starting points to discuss, while the shirt-dress suggestion below lets you consider sleeves within a complete garment. These are design references, not promises of a particular alteration.
LINENELLAR’s made-to-measure option adds 20% to the selected retail product price. Its single note box is optional, so you can begin with a plain-language concern and confirm the details with the studio before making. Keep a copy of the agreed sleeve, length and fit information for reference.
Comfortable sleeves should support the activities you choose without dictating how you move. Paying attention to the whole sleeve, rather than upper-arm width alone, gives you a better basis for that decision.
Continue reading
Pieces to explore
Three designs to compare with the ideas in this article. Open each product for current pricing, available choices and construction details; confirm any requested fit or design change with our studio.
A Comfortable Linen Neckline: What to Check Beyond the Photograph
A neckline frames the face, but it also has a practical job. It needs to feel comfortable against the body, work with any underlayer and stay in a position you are happy with during normal movement. A product photograph can help you choose a visual direction; it cannot answer every question about how an opening will behave on your proportions.
Rather than asking which neckline is suitable for your age, start with what you enjoy wearing. You may like an open V, a higher boat neckline or a shirt you can fasten to different points. Personal comfort and coverage preferences are more useful than a rule about what mature women should avoid.
Judge the opening on your body, not the model’s height
The depth and width you see in a photograph relate to that model, that size and that styling. A neckline can sit differently when the torso length, bust position or shoulder shape differs. The visual reference remains useful, but it is not an exact measurement of the opening you will receive.
If coverage matters, explain where and when. “I prefer the opening to feel secure when leaning towards a table” gives more information than “not low.” If you have a favourite top, ask the studio how to measure or photograph its neckline as a reference. Label that information as coming from a garment rather than from your body.
Consider width as well as depth
A neckline can feel too open because it is wide rather than low. It may also reveal an underlayer at the shoulder even if the centre front is high. Conversely, a narrow opening may feel close around the neck despite looking modest in a picture. Identify the specific sensation or coverage concern.
Try a similar garment with your usual underwear and move through an ordinary day’s actions. Sit, turn your head and reach for a bag within your comfortable range. Note whether you keep repositioning the neckline. Those observations help you decide whether to choose another listed design or discuss a change the studio can confirm.
Check the route into the garment
An opening must work when dressing as well as once the garment is on. A pullover neckline and a button-front opening offer different experiences. Do not assume a neckline has a concealed fastening because it looks easy to put on in a photograph; check the product details.
If ease of dressing is important, ask directly about the opening and how it functions. You can explain an ordinary preference without giving private medical information. For instance: “I prefer a front opening rather than pulling a close neckline over my head.” A studio can then identify suitable designs or confirm whether a request is feasible.
Plan for necklaces, scarves and layers
A necklace that works beautifully with one opening may sit awkwardly against another. A scarf may add the finish you want, but it should not be a compulsory fix for a neckline you dislike. Try your usual accessories with a reference top and decide which combinations you actually want to repeat.
Layers matter too. An open shirt over a dress creates two neckline shapes; knitwear can cover a detail you chose specifically. Check the outfit together, including whether a collar sits comfortably under a cardigan or jacket. This is a styling choice, not a requirement to buy a separate layer for every linen piece.
Discuss changes without assuming unlimited redesign
Raising, narrowing or changing an opening can affect other parts of a garment. It should not be treated as a small numerical adjustment that is always possible. Ask whether the chosen design is the right starting point, and whether another listed design would meet your preference more simply.
A clear brief might be: “I like the relaxed shape of this dress, but prefer the neckline position on my existing top. Can you confirm an appropriate design and what information you need?” This leaves the technical decision to the studio while keeping your preference central. Wait for confirmation before assuming that the order includes the requested change.
Use fabric information alongside fit information
If an underlayer is part of your plan, consider its colour and outline under the selected fabric. Opacity varies with material, colour, construction and lighting; a higher neckline alone does not establish coverage through the whole garment. Use the colour library and ask about the chosen option when necessary.
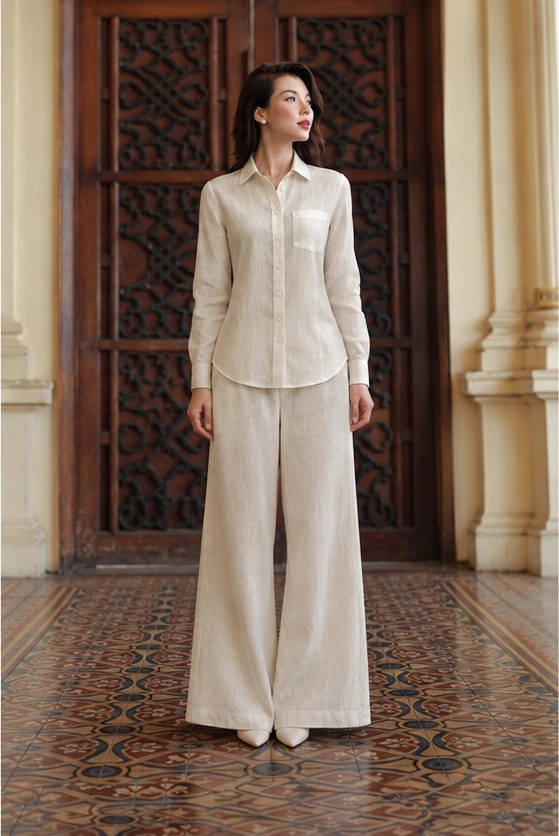
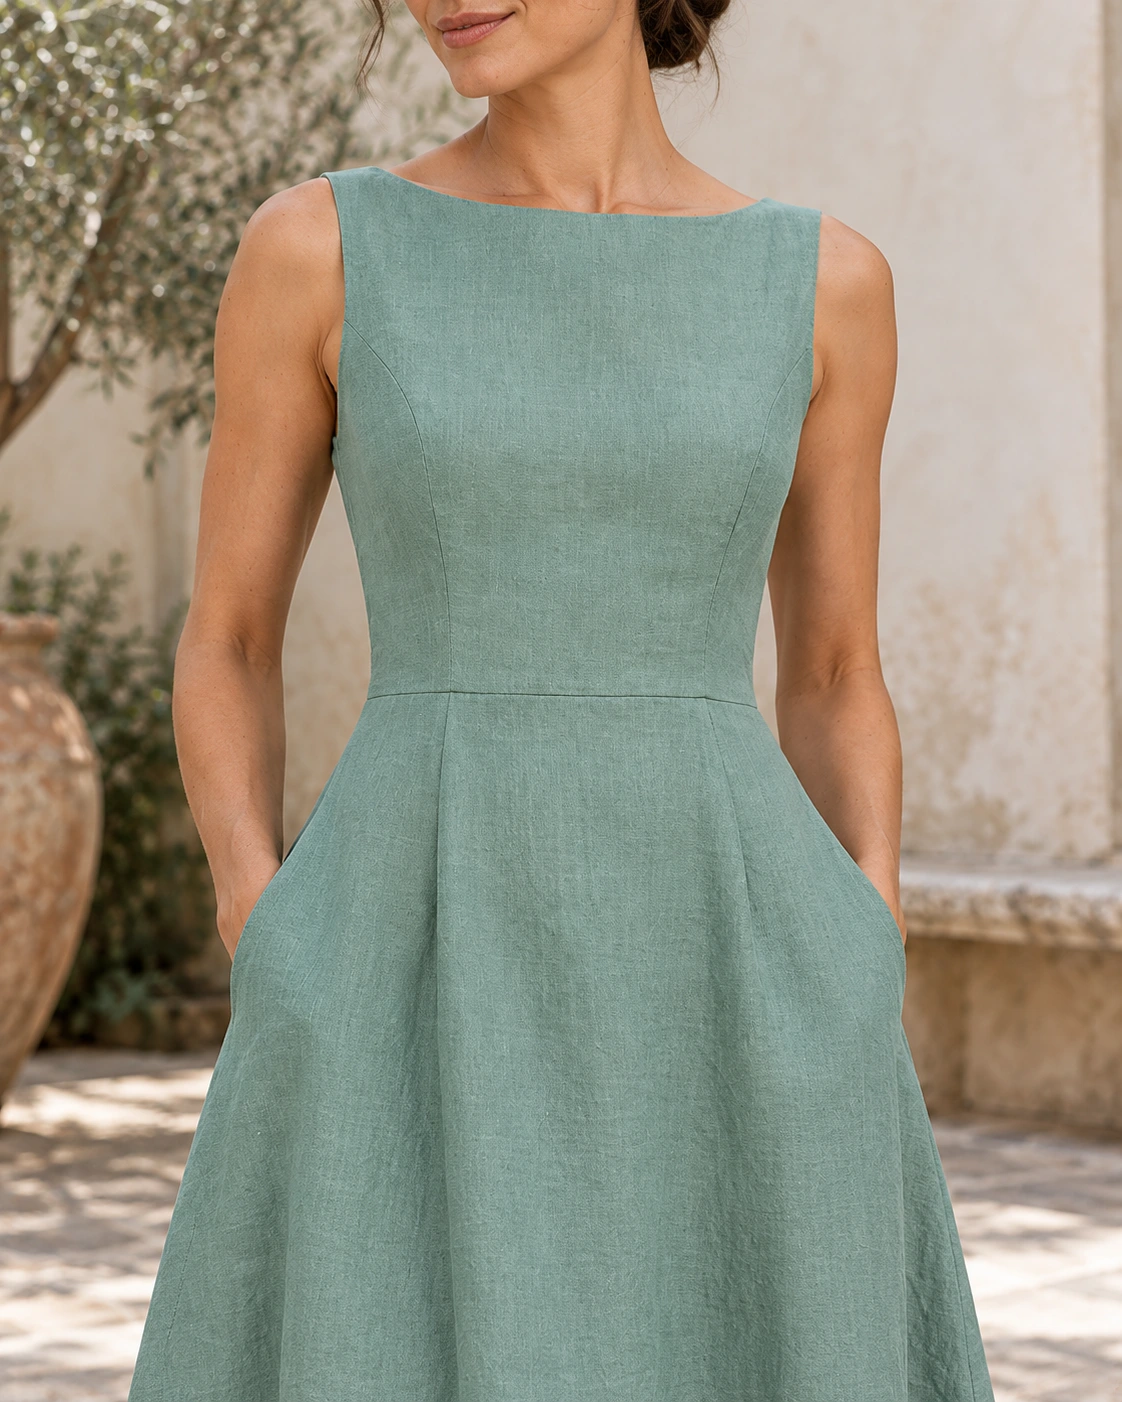
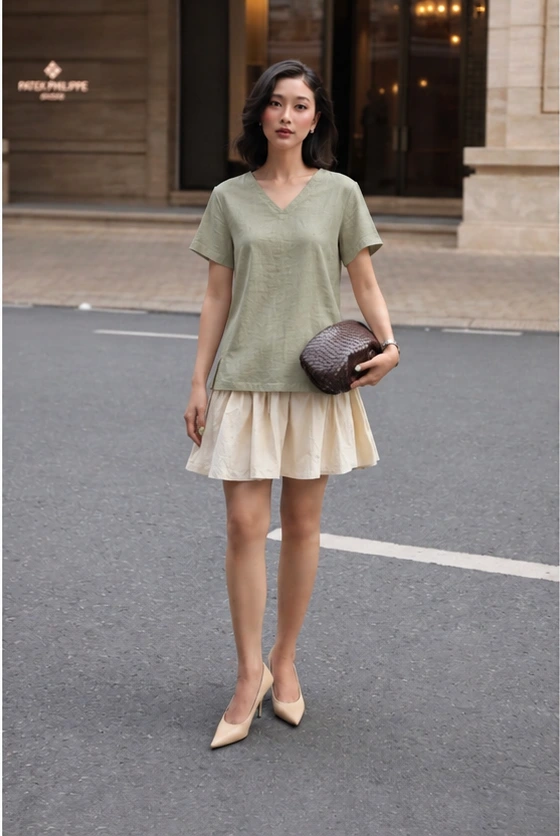
The Riviera Boat-Neck Linen Midi Dress offers one neckline direction; the V-neck and shirt suggestions below offer others to compare. LINENELLAR’s custom route carries a 20% surcharge on the selected product price, with details confirmed before making. A comfortable opening is one you have chosen for its appearance and its behaviour in your own day.
Continue reading
Pieces to explore
Three designs to compare with the ideas in this article. Open each product for current pricing, available choices and construction details; confirm any requested fit or design change with our studio.
Linen Trousers That Feel Comfortable When Sitting: Rise, Waist and Room
Trousers are often photographed standing, yet much of a normal day may be spent at a table, in a car or visiting friends. A pair that looks right in a mirror can feel very different once you sit. Comfortable seated fit involves more than choosing a generous waist measurement: the waistband position, rise and room through the seat and thigh all matter.
There is no universal fit allowance that works for every body and every trouser pattern. The most useful approach is to observe a comfortable pair and an uncomfortable pair in the situations you actually encounter. Bring that comparison to the studio without trying to redesign the pattern yourself.
Start with where you want the waistband to sit
High, middle and low rise are relative descriptions. Explain the position on your own body and whether you want the waistband to stay there when seated. A pair worn lower than intended can change the feel through the crotch and seat; pulling it higher can create a different problem.
Use your usual underwear and fasten the trousers normally. Sit in an ordinary chair, stand, then sit again. Notice whether you are repeatedly pulling the waistband up or pushing it down. That behaviour may be more informative than a single standing measurement. If a belt is needed to hold the trousers in place, include the belt in the comparison.

Separate tightness at the waist from restriction below it
A waistband pressing at the front is not the same sensation as tight fabric across the hips or a pull through the rise. Record where the pressure occurs and when it begins. If the trousers fit the waist but strain at the seat, increasing the waist alone may leave the original problem unresolved.
Likewise, a roomy leg does not establish a comfortable rise. Wide trousers can still pull when seated, and a straight leg can feel easy when its proportions work. Avoid treating the style name as a guarantee. Ask about the selected design’s waistband and shape rather than inferring elastic or extra stretch from a relaxed-looking photograph.
Compare the same task in two pairs
Try the comfortable reference pair during a meal-length period if practical. Note its waistband position, whether the back stays covered and how much adjustment you make after standing. Then repeat the ordinary movement in the less comfortable pair. You are looking for useful differences, not a perfect garment with no folds at all.
If the fabric gathers at the front, describe both the appearance and the sensation. Soft folds while sitting are different from painful pressure or persistent dragging. A photo can help explain position, but do not assume a studio can determine exact changes from an image alone. Measurements and further questions may still be necessary.
Explain the intended use
Trousers for a long lunch, everyday desk work and occasional evening wear may share a silhouette but have different priorities. If you expect to sit for several hours, say so. If you will also walk extensively, ask about stride and hem length with your shoes. A useful fit has to work across the whole outing.
Consider pockets too. Bulky items in front pockets can change both the look and the seated feel. Test the reference trousers with what you normally carry, then decide whether those items should be in a bag instead. This helps avoid asking the garment to solve an issue caused mainly by what is being carried in it.
A measurement brief that avoids confusion
Ask whether the studio wants body measurements, reference-garment measurements or both. State the units and label the source. “Waist 90 cm” is ambiguous if it might mean body circumference or a doubled flat waistband measurement. Do not add guessed comfort allowances to body figures unless the studio has specifically asked you to.
A clear opening note could be: “I prefer the waistband at this position and need comfortable room for sitting at lunch. My current trousers fit standing but press at the front when seated. Please tell me how to provide the rise and hip information you need.” This gives the studio a practical problem to assess without prescribing a numerical solution.
Choose the design and confirm the details
Compare the Daily Women’s Straight-Leg Linen Trousers with the other trouser directions below. Read the actual construction details; do not assume all three have the same fastening or waistband. A different listed design may suit your priorities better than extensive changes to the first one you saw.
For LINENELLAR custom fit, the surcharge is 20% of the selected product price. Notes are optional and details are confirmed before making. Standard sizes remain an option when their proportions suit you. In either route, review the returns information and allow time to assess the delivered fit before a fixed occasion.
The final check is practical: can you sit, stand and walk in the trousers without continually negotiating their position? That is a more useful target than a perfectly smooth photograph or a size label you have always bought.
Continue reading
Pieces to explore
Three designs to compare with the ideas in this article. Open each product for current pricing, available choices and construction details; confirm any requested fit or design change with our studio.
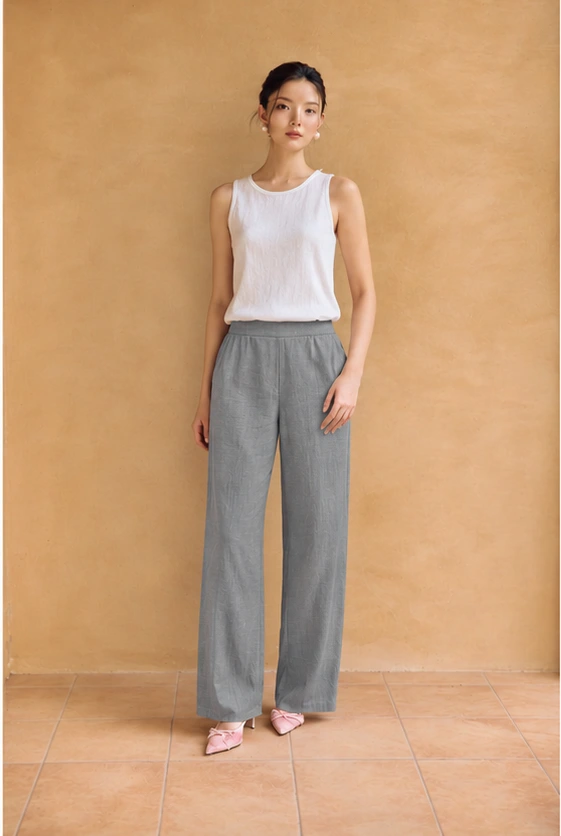
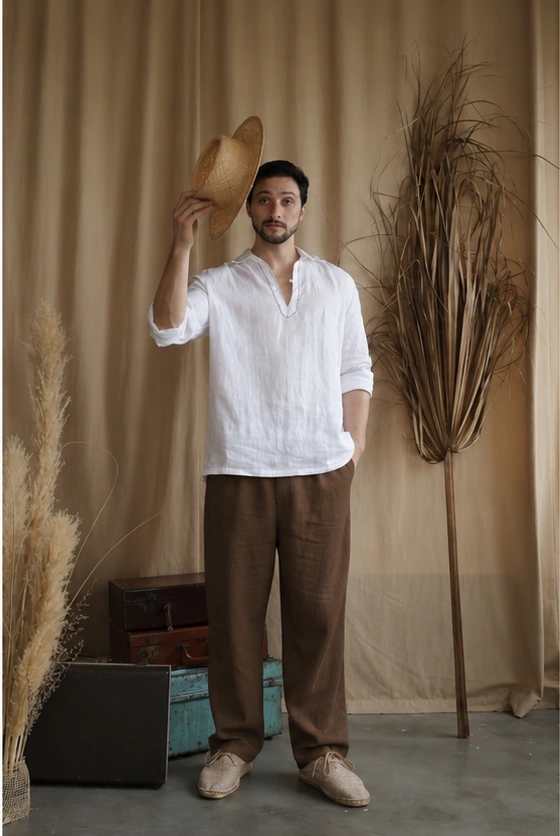
Linen Outfits for Mature Women Who Prefer a Loose Silhouette
A loose silhouette can feel deliberate, expressive and polished. It does not have to hide the body, and it does not need a belt to make it acceptable. If you prefer linen that falls away from the torso, the useful task is deciding where you want room and where you still want the garment to sit predictably.
Buying a larger size can add volume, but it may also move the shoulder seam, deepen the armhole or lengthen the sleeve. Those changes might be welcome, or they might make the garment less comfortable. Start with a design intended to have the outline you like, then consider fit within that direction.
Define the kind of looseness you enjoy
Compare a straight shift, a boxy top and wide-leg trousers. The shift creates a continuous line from upper body to hem. A boxy top creates width through a shorter area of the outfit. Wide trousers place more volume below the waist. Combining them is a personal choice, but each asks different questions about length and movement.
Use a garment you already enjoy to identify the feeling. Is the appeal the absence of waist shaping, the room around the hips, or the way fabric moves when walking? “Loose at the waist but not oversized at the shoulders” gives the studio a clearer direction than “very relaxed” alone. It also leaves room to discuss which listed pattern is the best starting point.

Keep the upper body comfortable and stable
A top can look roomy at the front yet feel tight when reaching across the back. Conversely, a large armhole can leave excess fabric that feels awkward under a jacket. Check how a comfortable existing top behaves when you reach forward, lift a bag and bend an elbow. Note the action that creates pulling or bunching.
If you like a dropped shoulder, say so. If you prefer the seam close to the shoulder edge, say that instead. Neither is a universal requirement for an elegant outfit. The purpose of checking the shoulder is to understand how the fabric is supported and how the sleeve moves, not to impose a tailored outline on a loose design.
Give length as much attention as width
Loose pieces can feel cumbersome when their lengths do not work together. A long top over full trousers may be exactly the silhouette you want, but assess it with the shoes and layer you use. Check whether the top catches around the seat, whether the trousers brush the ground and whether pockets remain easy to reach.
A shorter top may reveal more of the trouser shape; a longer one may produce a continuous drape. Try a temporary fold on an existing shirt to compare the effect before requesting a different finished length. Do not cut or alter a new garment before confirming its fit and reviewing the applicable returns and alterations information.
Examine movement, not just the standing outline
Walk at your usual pace, sit and stand again. A loose skirt still needs enough stride room at the hem. Wide trousers need a length that works with your footwear. A flowing sleeve needs to suit the activities you do. These checks are especially useful when choosing clothes for dining, travel or hosting, where the outfit has to work beyond a mirror photograph.
For a practical example, someone who likes generous sleeves may still prefer the cuff to stay clear while serving food. The brief is not “make everything smaller.” It is “keep the roomy sleeve shape and discuss a cuff or length that suits this activity.” The studio must confirm whether that request fits the chosen design.
Make volume feel intentional through repetition
You can connect loose separates through a shared shade, a repeated texture or an accessory you already love. You can also create contrast: a simple top with fuller trousers, or a loose dress with a structured bag. There is no requirement to expose an ankle or wrist to justify a generous silhouette.
Compare shades in the linen library and consider the underlayers you expect to wear. Loose fit does not guarantee opacity, and dark colour does not establish it either. Ask about the selected fabric and construction if coverage is a priority, particularly for strong sunlight or an occasion with photographs.
Ordering without losing the design you like
Send a brief that identifies the intended outline and the parts that need closer attention: “I like the straight, loose shape; please help me confirm upper-back room and finished length.” Label any reference measurements as body or garment measurements. Do not add guessed ease to body figures without agreeing a method.
The Still Linen Shift Dress, June Linen Boxy Top and wide-trouser direction below are useful comparisons. Standard sizing may work; LINENELLAR also offers custom fit at a 20% surcharge, with optional notes and confirmation before making. Preserve the looseness you enjoy while making the practical details more precise.
Continue reading
Pieces to explore
Three designs to compare with the ideas in this article. Open each product for current pricing, available choices and construction details; confirm any requested fit or design change with our studio.
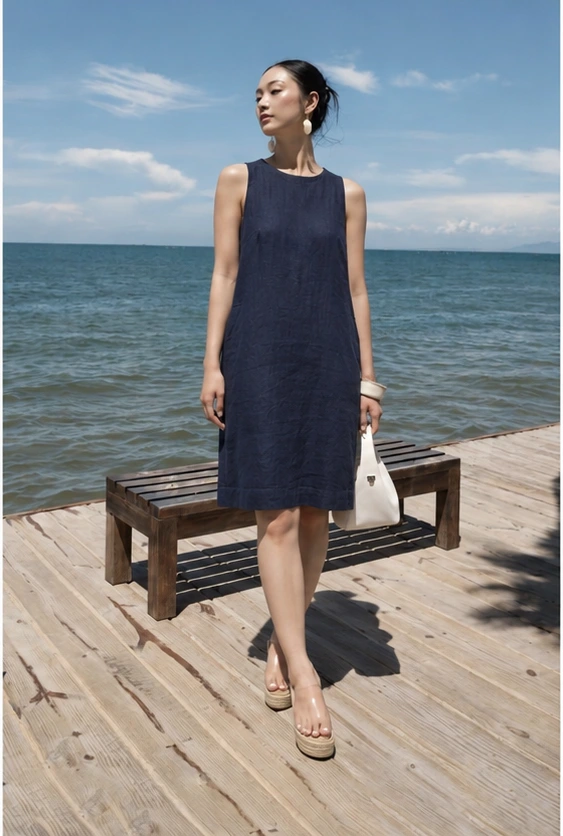
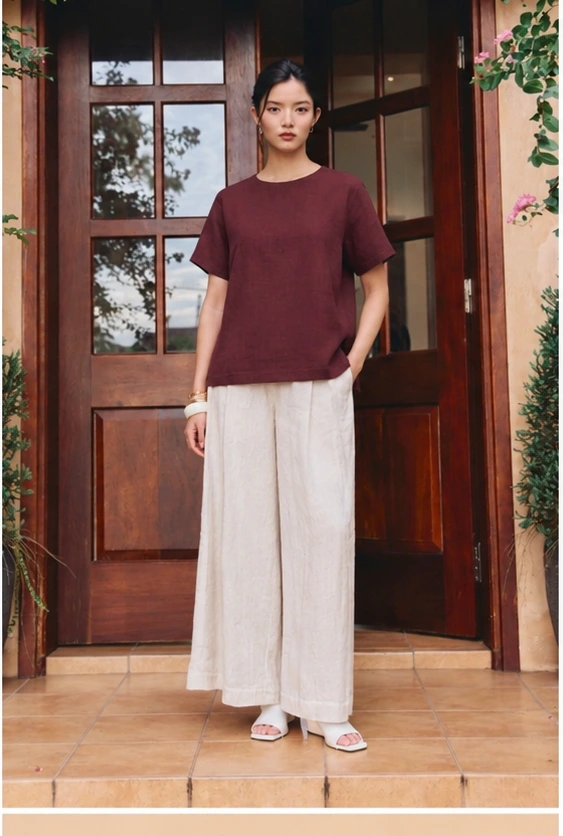
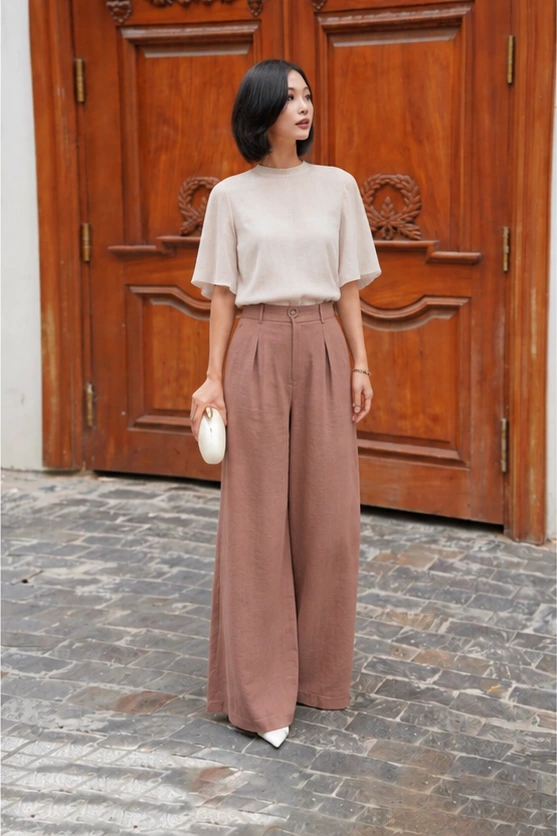
When a Linen Shirt Pulls Across the Back: What to Discuss Before Ordering
A shirt can look comfortable while you stand with your arms down, then pull as soon as you reach forward. That is a useful observation to bring to an online fit discussion. It does not automatically mean you need the next size, nor does it establish a single cause from a photograph. Back width, shoulder position, sleeve construction and overall length can interact.
Before ordering a replacement linen shirt, investigate when the restriction occurs. The goal is to describe the experience accurately enough for the studio to ask the right follow-up questions. You do not need to diagnose the pattern yourself, and you should not have to change the way you normally move to suit a shirt.
Identify the movement that produces the pull
Try the existing shirt fastened as you normally wear it. Reach forward as though holding a steering wheel, bring your hands towards a table and bend one elbow. Notice whether the restriction is across the shoulder blades, under the arm, at the upper sleeve or around the cuff. Repeat only within your comfortable range of movement; this is a clothing check, not a physical test.
Describe a real task rather than stretching as far as possible for the camera. A shirt intended for lunches and everyday errands needs to work for those activities. If the problem appears only when wearing a jacket over it, test the shirt alone too. The layer may be affecting how the sleeve and shoulder move.

Compare standing room with movement room
Visible extra fabric at the waist does not prove that the back or upper sleeve has enough room. A shirt may be generous below the armhole and restrictive above it. Equally, adding width everywhere may create a much larger garment without addressing the point that feels wrong.
Check whether the front also changes when you reach. Do buttons gape, does the hem rise sharply, or does the collar pull backwards? Record what you see without deciding that one seam must be moved. These observations help distinguish an overall size question from a more specific proportion question that needs professional assessment.
Use a comfortable reference shirt
Choose a shirt that allows the same everyday task and has a reasonably similar purpose. An elastic sports top is not a direct fit equivalent for a woven linen shirt. Compare woven shirts if possible, and explain differences such as a dropped shoulder, a pleat or a much looser sleeve.
Ask the studio which measurements to take before sending a long list. A flat garment width is not the same as body circumference, and different measuring points can produce misleading comparisons. Label each figure clearly, keep the shirt flat without stretching it, and include a photograph showing the measuring position if requested. A number without its method is easy to misinterpret.
Do not hide the problem with guessed additions
It is tempting to add a few centimetres to every body measurement to be safe. That can make the resulting brief confusing because the studio may also allow design-specific ease. Send actual body measurements when requested and explain the desired room separately. If your figures come from a garment, say so.
A helpful note might read: “My current woven shirt feels comfortable standing but pulls across the upper back when I reach towards a dining table. I would like a similar outline with easier forward movement. Please confirm the measurements you need.” This communicates both the limitation and the appearance you want to retain.
Discuss the chosen design, not an imaginary ideal shirt
Different listed shirts can have different shoulder and sleeve directions. A relaxed shirt and a more structured shirt should not be expected to feel identical simply because the chest measurement is similar. Show the studio the design you prefer and ask whether it is an appropriate starting point for your movement requirements.
Design changes require review. Do not assume that a back pleat, different armhole or new sleeve can automatically be added under a custom-fit option. Sometimes another existing design is the clearer route. The Everyday Women’s Linen Shirt and the men’s shirt suggestions below can be compared by their product details rather than treated as interchangeable solutions.
Check layering and care expectations
Tell the studio if the shirt will usually go over a sleeveless top or under knitwear. Room needed for an underlayer is different from room needed for the body alone. Also review the garment’s care guidance; do not plan to shrink or stretch a finished shirt into the right fit after delivery.
Linen’s surface can crease during wear, but a fold is not the same as persistent tension. When describing the issue, focus on pressure, restricted movement and changes in position rather than treating every wrinkle as a defect. That keeps the conversation directed towards useful fit decisions.
Before making is confirmed
Agree on the design, the measurement method, the fit preference and any adjustment the studio has accepted. LINENELLAR’s made-to-measure route adds 20% to the selected product price. The note box is optional, and details are confirmed before making. If you do have a recurring back-fit concern, mentioning it early gives that confirmation a clearer purpose.
Keep the final agreed brief so you can compare the delivered garment with what was discussed. A careful description will not replace a fitting assessment, but it is a much stronger starting point than ordering a larger size and hoping that every proportion improves together.
Continue reading
Pieces to explore
Three designs to compare with the ideas in this article. Open each product for current pricing, available choices and construction details; confirm any requested fit or design change with our studio.
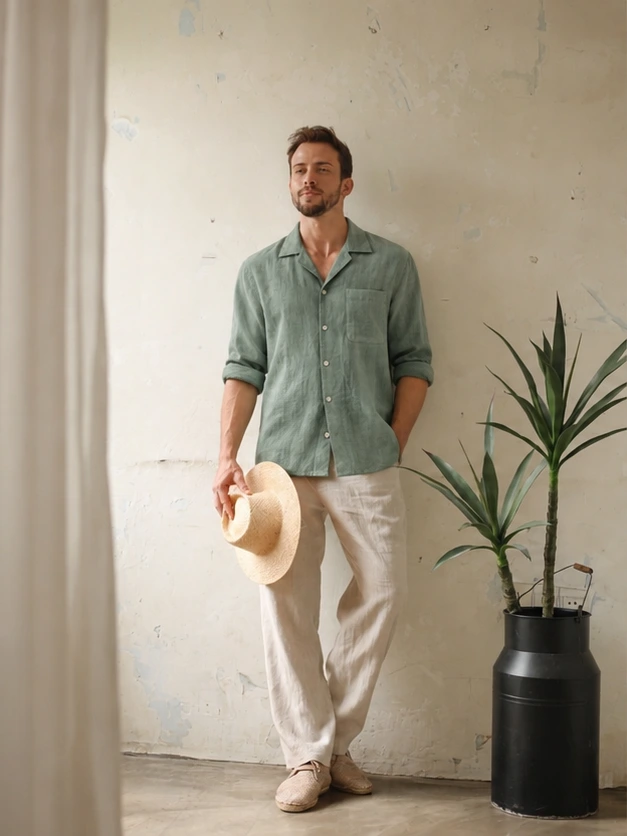
Buying Linen Online When You Prefer More Coverage: A Pre-Order Checklist
More coverage is a personal preference with several possible meanings. You may want a higher opening, a sleeve ending at the elbow, a longer seated hem or fabric that works with a particular underlayer. Naming the specific requirement makes online shopping more useful than searching for a broad label such as modest or mature.
No single photograph can establish every aspect of coverage. The model’s proportions, the lighting and the way the garment is arranged all influence what you see. Use the images to choose a direction, then ask focused questions about the details that matter for your own use.
Check the neckline in the situation you care about
If leaning forward is the concern, say so. A neckline may look secure standing but move differently at a table. Width can matter as much as depth, particularly near the shoulders or over an underlayer. A higher centre front does not answer every coverage question.
Compare a top you already like and identify the opening position you prefer. Ask the studio how to provide a useful reference rather than sending an unlabelled number. If a change is requested, confirm whether the chosen design can support it; another listed neckline may be a more straightforward solution.
Define sleeve coverage on your body
Short, three-quarter and long are broad descriptions, not guaranteed positions for every wearer. Decide where you want the hem to finish and whether you intend to roll the sleeve. Check upper-arm and elbow room separately from length. More fabric coverage is not useful if the sleeve feels restrictive in normal movement.
An ordinary linen sleeve should not be assumed to carry a tested sun-protection rating. If you need clothing with a specific protective performance, check an appropriate verified specification. For a personal coverage preference, focus the brief on length, room and how the garment will be worn.
Check the hem while seated and walking
A skirt or dress length seen on a standing model may not reflect your preferred seated coverage. Try a comparable garment, sit in an ordinary chair and observe where the hem rests. Also walk normally to consider stride and any overlap in the design.
For trousers, decide the relationship with shoes and the ground. If you want ankle coverage, do not assume a cropped style will become full length without design review. Ask about the intended finished position and provide the studio’s requested measurements, clearly labelled as body or garment references.
Treat opacity as a fabric-and-construction question
Colour is not a complete opacity test. Weave, weight, lining, lighting and underlayers all influence what is visible. Avoid universal assumptions that pale linen is always transparent or that dark linen is always fully opaque. Ask about the selected material and garment rather than the fibre name alone.
Use the linen colour library alongside the product detail images, then clarify any important concern before ordering. If a slip or other underlayer is part of your plan, include it in the fit discussion. Room for an underlayer and the visual effect of that underlayer are separate considerations.
Consider openings and movement together
A front opening, side opening or wrap overlap can affect coverage during sitting and walking. Read the actual construction details and ask where the opening finishes if that is important. Do not infer concealed fastenings or a fixed overlap from a neatly arranged photograph.
Use a practical brief: “I like this dress direction and want the opening to remain within my preferred coverage when seated.” This states the requirement without claiming a technical solution. The studio can confirm the suitability of the design, ask for more information or suggest another starting point.
Test the complete outfit, not just the garment
The underwear, shoes, bag strap and outer layer can all affect how the piece sits. A cardigan may change the neckline position; a crossbody bag may pull a shoulder; a belt may alter the seated hem. Try comparable combinations together before deciding what the new garment needs to do.
Do not make a layer a compulsory solution unless you want to wear it throughout the outing. If conditions become warmer and you remove it, the underlying outfit should still offer the coverage you prefer. Plan suitable weather protection separately when the forecast requires it.
Confirm the essentials before making
Summarise the chosen design, shade and the two or three coverage details that are essential. Ask the studio to confirm accepted changes, rather than treating a note as automatic approval. LINENELLAR’s custom option adds 20% to the selected product price; notes are optional and details are confirmed before making.
Review returns and alterations and allow time to try the garment before a fixed occasion. The pieces below are different coverage directions to investigate, not promises of identical sleeve lengths, opacity or openings. A clear checklist keeps the decision personal and specific, without imposing rules about what any age group should wear.
Continue reading
Pieces to explore
Three designs to compare with the ideas in this article. Open each product for current pricing, available choices and construction details; confirm any requested fit or design change with our studio.
Helping a Parent Order Linen Online: Keep Their Preferences at the Centre
Helping a parent order clothing online can be useful when they want another pair of eyes, assistance reading product details or help navigating the checkout. The most important part is keeping their preferences central. Being older does not tell you which silhouette, colour or level of coverage they want.
Start by asking what kind of help would be welcome. They may want technical assistance while making every style decision themselves, or they may enjoy discussing options together. Treat that distinction as part of the process rather than assuming that help with a website means permission to choose the clothes.
Begin with what they already enjoy wearing
Ask which shirt, dress or pair of trousers they reach for most and why. Listen for practical details: a favourite neckline, comfortable sleeve, useful pocket or preferred waistband position. These observations can guide the search more accurately than a broad category such as clothing for older people.
Also ask what they would like to change. Perhaps a familiar style now feels too long, or a trouser fits standing but not sitting. Avoid turning every comment into a body critique. The discussion is about how the garment serves them and which details they want to keep.
Narrow the choice without removing choice
Show a small group of relevant designs rather than a screen full of possibilities. Explain why each might be worth comparing, then let your parent reject or prefer them. A simple distinction such as shirt dress, straight dress or separates can be easier to discuss than a long list of fashion terms.
Use the product photographs as design references, not as a prediction that the outfit will look identical on a different person. Do not suggest that a model’s age determines who may wear the garment. Ask which shape and details appeal to the person who will actually own it.
Make fit information understandable
Read the size guide together and establish whether the figures describe the body or a finished garment. If using a reference piece, ask the studio for the measuring method. Label units and sources clearly rather than mixing flat widths, circumferences and familiar size labels.
Do not add guessed allowances to measurements to make the order safer. Explain the comfort preference separately and allow the studio to confirm what it needs. A note such as “prefers room across the upper back when reaching forward” is clearer than silently increasing several numbers.
Protect privacy while asking useful questions
An ordinary fit conversation rarely requires sharing detailed medical history. Describe the clothing preference or dressing task instead, unless your parent chooses to provide further relevant information. Get their agreement before sending personal measurements or photographs, and share only what is needed for the order.
If taking a measuring photograph, explain its purpose and where it will go. Let your parent decide whether they are comfortable with it. You can ask the studio whether another type of reference would work. Assistance should make the process more accessible without removing control over personal information.
Check colour and fabric expectations together
Compare the available linen shades with clothes and shoes your parent already owns. Ask whether they want a familiar shade or something different. Do not choose a neutral automatically because it seems more age appropriate to you.
Explain that screen colours are references rather than exact physical standards. If opacity, matching or a specific underlayer matters, ask about the selected fabric and construction before ordering. Make sure the person who will wear the garment understands what is confirmed and what remains a visual reference.
Review the order in plain language
Before paying, read back the design, selected colour, fit route, quantity and any notes. For a set, distinguish top and bottom information. Make sure an earlier choice has not remained selected accidentally while you discussed another option. If something is unclear, pause the order and ask rather than guessing on someone else’s behalf.
LINENELLAR’s made-to-measure option adds 20% to the selected product price. Its single note box is optional, and the studio confirms details before making. Explain that route alongside standard sizing and review the returns information together, especially when a genuinely personalised order is being considered.
Plan delivery and the first try-on
Check the making and shipping guidance against any occasion date, and leave time to try the complete outfit. When it arrives, let your parent describe the fit first. Ask about comfort in normal sitting and movement instead of judging only a standing photograph.
Keep the agreed brief and order details available in case a question needs to be raised. The product suggestions below are conversation starters, not choices to make for someone. A successful assisted order is one your parent understands, wants and recognises as their own decision.
Continue reading
Pieces to explore
Three designs to compare with the ideas in this article. Open each product for current pricing, available choices and construction details; confirm any requested fit or design change with our studio.
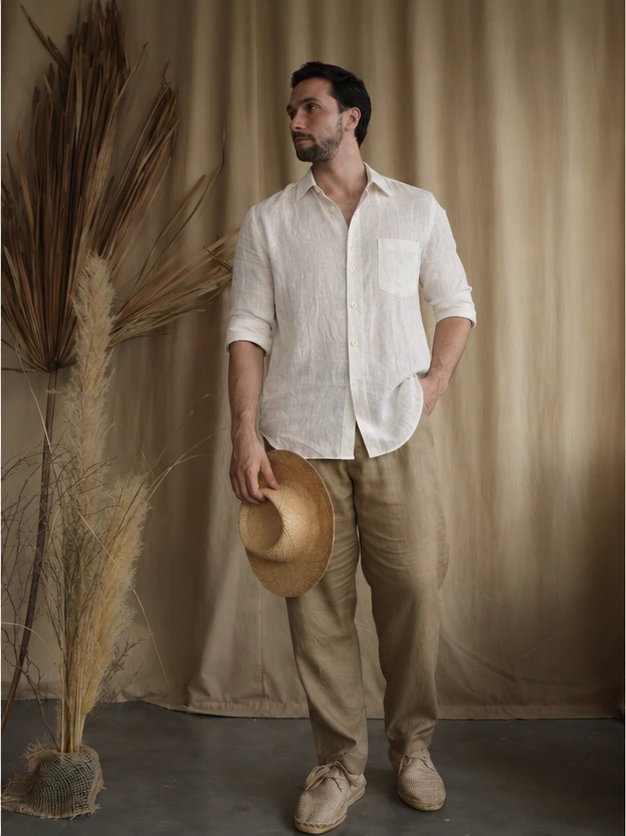
Your First Custom Linen Order After Years of Buying Standard Sizes
If you have bought standard sizes for years, a first made-to-measure linen order can sound more complicated than it needs to be. You may wonder whether you need a full set of tailoring measurements or a precise technical brief. A useful first step is much simpler: choose a listed design and identify what you want its fit to do for you.
Custom fit is not a guarantee of perfection, and it is not automatically necessary for every customer. Standard sizing may work well. The value of a custom conversation is the opportunity to clarify proportions or preferences that a familiar size label does not express, with the details agreed before making.
Identify the reason for choosing custom
Start with a recurring issue rather than the idea that custom must be better. Perhaps standard trousers suit your waist but not your hips, shirt lengths feel wrong untucked, or you want more upper-arm room without a much wider body. Name the issue and the situation in which it matters.
Also identify what already works. If you like the shoulder position of a favourite shirt, say so. If a trouser has the rise you prefer but an unsuitable length, distinguish those points. A clearer brief preserves useful proportions instead of replacing every dimension at once.

Choose a design close to the result you want
Made to measure begins more clearly when the listed garment already has the silhouette and main details you enjoy. A shift, wrap dress and shirt dress are not interchangeable starting patterns. Likewise, a relaxed shirt and a more structured shirt may not respond identically to the same fit request.
If you want substantial design changes, ask whether they are possible and how they would be quoted or confirmed. Do not assume the retail custom surcharge includes unlimited redesign. Sometimes another existing design offers a closer route to the desired neckline, opening or leg shape.
Keep body and garment measurements separate
The studio may ask for body measurements, a reference garment or both. Follow its method and label every figure with units and source. A doubled flat waistband width is not the same thing as a body waist measurement, even if the numbers happen to be similar.
Do not add guessed ease to body measurements unless instructed. The design may already include an allowance for movement and its intended outline. Explain the desired feeling separately: “I prefer room around the waist when seated” or “I like a relaxed outline with a cleaner shoulder.” This lets the studio interpret the figures within the chosen design.
Write a short note instead of a technical specification
A useful first note can state the design, intended activity and main fit priority. For example: “I will wear this dress for daytime lunches with flat shoes. I like the shirt-dress shape and would like to discuss sleeve room and finished length.” You do not need to decide the pattern changes yourself.
At LINENELLAR, the measurements-and-requests box is optional. You can leave it blank and discuss details with the studio before making. If a requirement is essential, however, mention it during confirmation rather than assuming it will be inferred from a size selection or product photograph.
Understand the price and confirmation stage
LINENELLAR’s made-to-measure route adds 20% to the selected product price. Check the current product and order summary for the amount relevant to your choices. Shipping and any destination charges should be reviewed separately; the custom surcharge is not a statement that every possible cost is included.
Before making, confirm the chosen design, colour, fit priorities and any accepted adjustment. Ask questions if the summary does not match what you intended. Keep a copy of the agreed information so you can refer to the actual brief rather than trying to remember a long exchange later.
Plan the calendar and understand the policy
Making and delivery are separate stages. LINENELLAR’s published guidance describes making after details are confirmed, followed by a separate shipping estimate. Review the shipping page for current terms and ask about feasibility before ordering for a fixed event. Do not treat an estimate as a guaranteed arrival date.
Read the returns and alterations information before choosing a genuinely personalised order. The applicable treatment may differ from a standard-size purchase, so clarify it in advance. Do not assume a custom label removes remedies for a manufacturing fault, or assume an unrestricted change-of-mind return without checking the policy.
Assess the first garment in real use
When it arrives, try it with the underlayers and shoes discussed. Sit, walk and move normally. Compare the result with the agreed priorities, including length and the specific activity that prompted custom fit. Natural creasing is different from persistent restriction or an incorrect agreed detail; describe any concern clearly.
Keep notes about what you enjoy as well as what needs discussion. Those observations can make a later order more precise, but do not order a large repeated batch before assessing the first piece. A successful first custom order is a well-understood process and a useful garment, not a requirement to master tailoring vocabulary or abandon standard sizing forever.
Continue reading
Pieces to explore
Three designs to compare with the ideas in this article. Open each product for current pricing, available choices and construction details; confirm any requested fit or design change with our studio.
Linen Outfits for Women Over 70: Simple Combinations You’ll Enjoy Wearing
Simple dressing does not have to mean plain dressing. An outfit can have colour, interesting jewellery and a distinctive shape while still being easy to put together. For women over 70 looking for linen clothing online, the most useful starting point is often a familiar combination that already works: trousers and a shirt, a dress and a light layer, or a favourite top with a different bottom.
There is no need to rebuild your wardrobe around an age label. Instead, identify the decisions that make mornings difficult. Perhaps several tops need a particular bra, a pair of trousers only suits high shoes, or a jacket feels awkward over full sleeves. A good new piece should reduce one of those problems.
Formula one: a shirt, straight trousers and familiar shoes
This combination is adaptable because the shirt can change the mood without requiring different trousers. Start with the way you prefer to wear it: fully untucked, partly tucked or open over another top. These are different uses, and shirt length needs to support the one you choose.
An untucked shirt should be assessed against the trouser rise and your torso length, not against a universal rule about covering the hips. Stand, sit and look from the side. If the shirt bunches over the lap, a different hem position may work better. If it feels too short when reaching forward, extra length or a different cut may be worth discussing. Simply sizing up can also widen shoulders and sleeves you already like.
Formula two: one dress and a short list of layers
A dress can be a useful single decision when you like its neckline, sleeve and shape on their own. Add a cardigan, an unfastened shirt or a jacket for the conditions you expect. Check whether the layer closes comfortably if you intend to close it. An open photograph does not demonstrate that the fronts meet without pulling.
Choose the layer by function. A fine cardigan for an indoor lunch and a substantial jacket for an evening outside are not interchangeable. Linen is a clothing material, not a complete weather plan. Try the full combination before travelling or attending an occasion, including the bag strap that will sit on the shoulder.
Formula three: a small tonal group with one personal detail
Pick a base shade that works with your existing footwear. Then compare two or three nearby or contrasting shades in the fabric library. A tonal outfit can make separate garments feel connected, while a contrasting top may be easier to combine with clothes you already own. Neither approach requires wearing beige.
One distinctive element is often enough to make the outfit yours: a patterned scarf, a coloured bag or the earrings you wear most. If you enjoy several accessories, keep them. The useful test is whether the outfit feels natural once you leave the mirror, not whether it meets a minimal-style formula.
Decide what “easy” means for you
Ease may mean fewer fastenings, a neckline that slips on comfortably, pockets for a tissue, or fabric that works with your usual care routine. It may have nothing to do with physical ability. List the two details you value most and ask about them directly. Do not infer a stretch waistband, accessible fastening or special opening from the word relaxed in a product name.
If using a pullover style, consider how it goes over your head and shoulders as well as how it fits once on. If using a button-front shirt, check the opening, button size and cuff arrangement. For a fit discussion, explain the task you want to do comfortably. A studio can then confirm what is possible within the selected design.
Build a three-outfit wardrobe before adding more
Lay out three complete combinations using the proposed purchase and clothes you already own. Include shoes, underwear and an outer layer. If the new item only works with another unpurchased item, decide whether that extra purchase is worthwhile before placing the order.
For example, one pair of linen trousers might work with your existing cotton top for home, a linen shirt for lunch and knitwear on a cooler day. That is a useful range without pretending that one garment suits every climate or dress code. Write down where each combination will be worn; a real plan is more informative than a long list of possible occasions.
Ordering online with fewer surprises
Use a comfortable garment as a reference and identify whether its measurements describe the garment or your body. Check the size guide, then ask about any conflicting proportions. LINENELLAR offers standard options and made to measure at a 20% surcharge on the selected product price. Measurements and requests can go in one optional note; the studio confirms details before making.
The suggested pieces below are starting points for these combinations, not a prescribed wardrobe for women over 70. Choose the one that fits the way you want to dress now. An outfit earns its place through repeated comfortable use, not because it follows a rule about maturity.
Continue reading
Pieces to explore
Three designs to compare with the ideas in this article. Open each product for current pricing, available choices and construction details; confirm any requested fit or design change with our studio.